My TGE came without the glovebox cooling parts, maybe I missed it off the list when I ordered the van.
Parts required, sorry these are VW numbers as I am able to deal at TPS and know where to find part numbers on the internet.
3B0 816 355 01C -- Valve satin black - controls airflow into glovebox.
7C1 816 311A -- Air hose - connects airbox to union behind glovebox.
1K0 820 731 -- Connector union - fits behind the glovebox.
The diagrams below show a LHD vehicle but the parts are the same for both LHD & RHD.
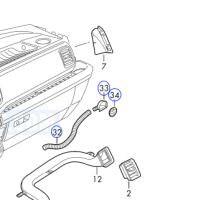

Fitting is very simple except for the need to be a bit of a contortionist.
Parts required, sorry these are VW numbers as I am able to deal at TPS and know where to find part numbers on the internet.
3B0 816 355 01C -- Valve satin black - controls airflow into glovebox.
7C1 816 311A -- Air hose - connects airbox to union behind glovebox.
1K0 820 731 -- Connector union - fits behind the glovebox.
The diagrams below show a LHD vehicle but the parts are the same for both LHD & RHD.


Fitting is very simple except for the need to be a bit of a contortionist.
- Open glovebox.
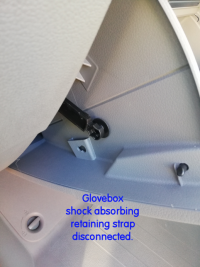
- Pull black restraining link upwards at the point where it links to the glovebox, this reveals the fact that it will now lift out of the glovebox moulding through an enlarged hole (picture).
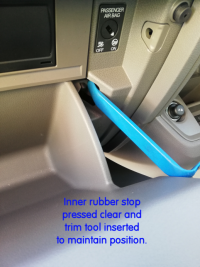
- Locate the rubber stops at each side of the glovebox and using a plastic trim tool push the one nearest the centre of the vehicle clear of the glovebox body. I then slid the trim tool inwards to maintain this position (picture).
- The rubber stop nearest the outside of the vehicle can, with some pressure, be presses outwards to clear the glovebox bode. This will release the glovebox allowing it to trap your finger as it lowers. Speaking from experience!
- Allow the glovebox to hang down.
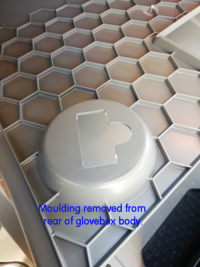
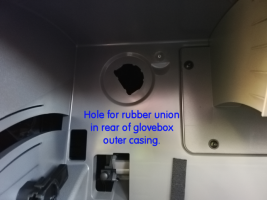
- Press / twist out the pressing that is shaped to fit the valve and discard it.
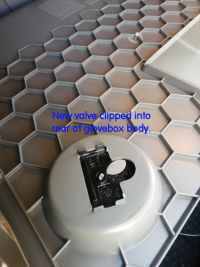
- Clip in the new valve from within the glovebox (picture).
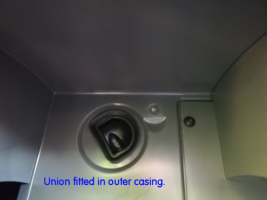
- Carefully insert the connector union into the matching hole in the plastic face behind the glovebox ensuring that it seats securely (picture).
- Lift the glovebox making sure that the rubber stops push clear as the box is raised, they should snap back into position as the glovebox returns to its normal open position.
- Refit the restraining link again ensuring that has clipped down into its working position.
- From below (this where the contortionist is needed) shine a torch up and locate the newly fitted connector union.
- Carefully guide one end of the air hose to the connector union and push it securely into place.
- Locate the moulded tube on the airbox nearer the centre of the vehicle onto which the other end of the air hose is to be fitted. This will have a black rubber cap which should be pulled off and discarded.
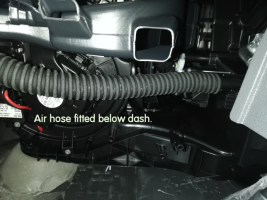
- Push the lose end of the air hose firmly onto the airbox (picture of fitted hose).
- Drag your somewhat contorted body from below the dash and admire your work by activating the air conditioning and feeling the cool air flowing into the glovebox area with the lid open.


